DELIVERY just £12.50
Float mounting is a brilliant technique for showcasing art on heavy paper. Roy Rowlands GCF demonstrates his easy method in this in this video. For lower value art you can simply mount the artwork onto a piece of self adhesive foamboard slightly smaller than the print, then stick that onto an undermount.
There are two methods of how to float mount a print with this technique. The 'flush' method and the 'raised' method.
Method one - flush:
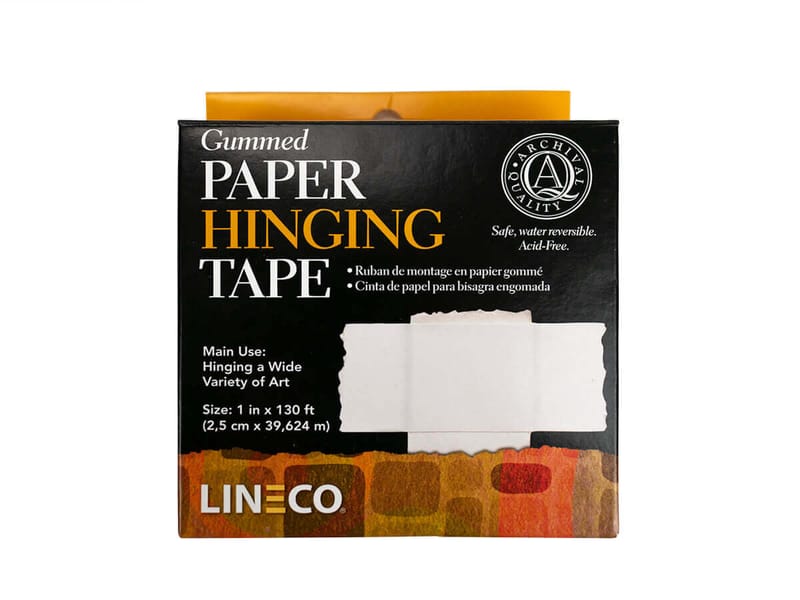
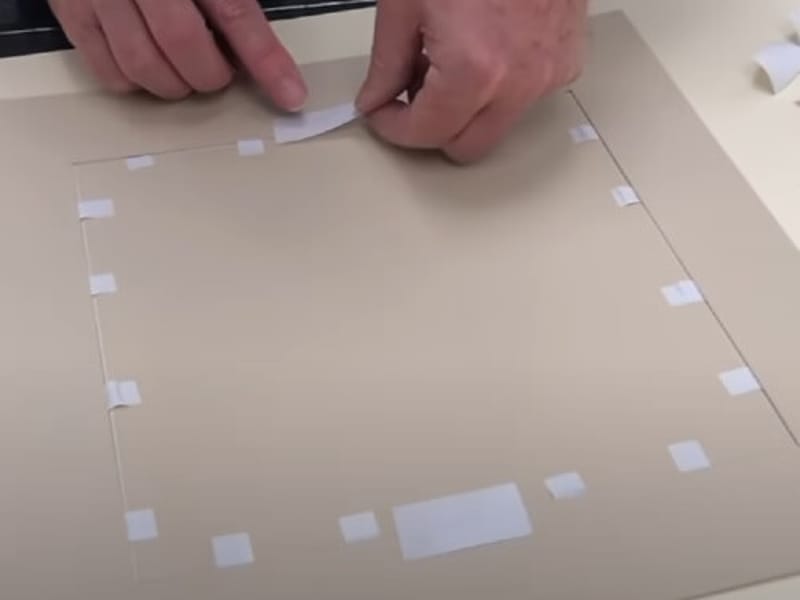
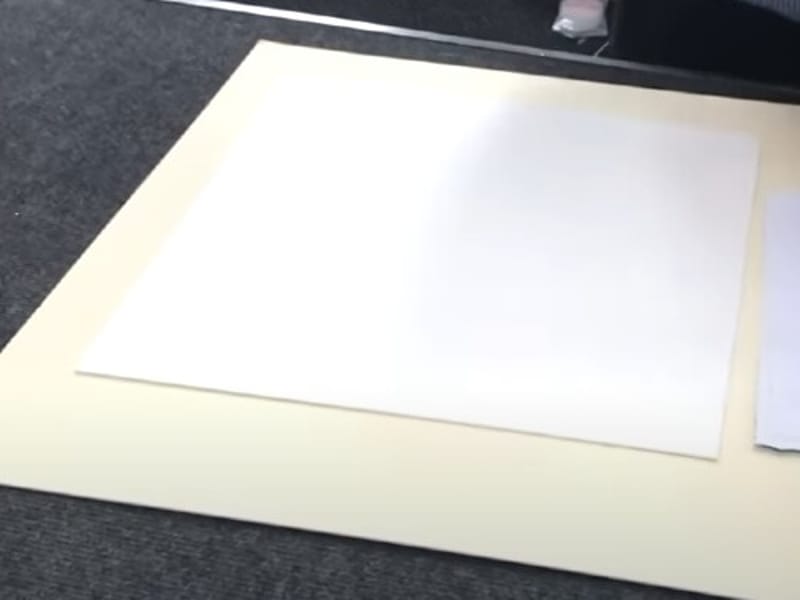
Cut a drop-out board which the floated art on paper will be secured to with strips of gummed hinging tape. Allow a 10mm border.
The drop-out board needs to be 2mm smaller than the aperture of the mountboard to allow the artwork to move a little.
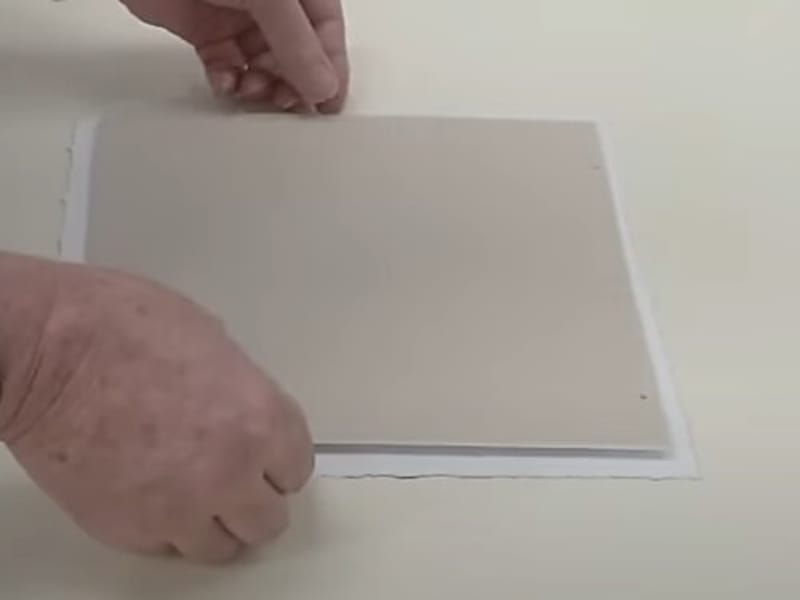
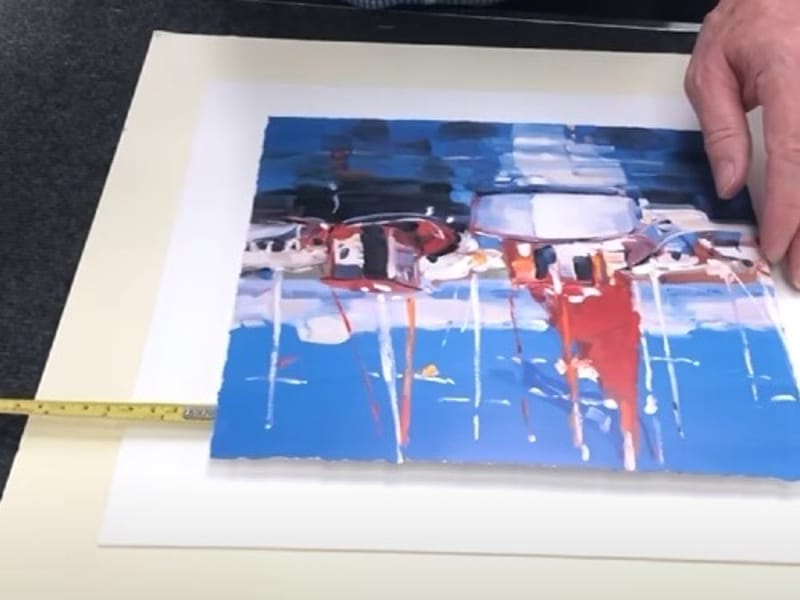
Position the drop-out board centrally onto the back of the art and hold it in place using paper weights.
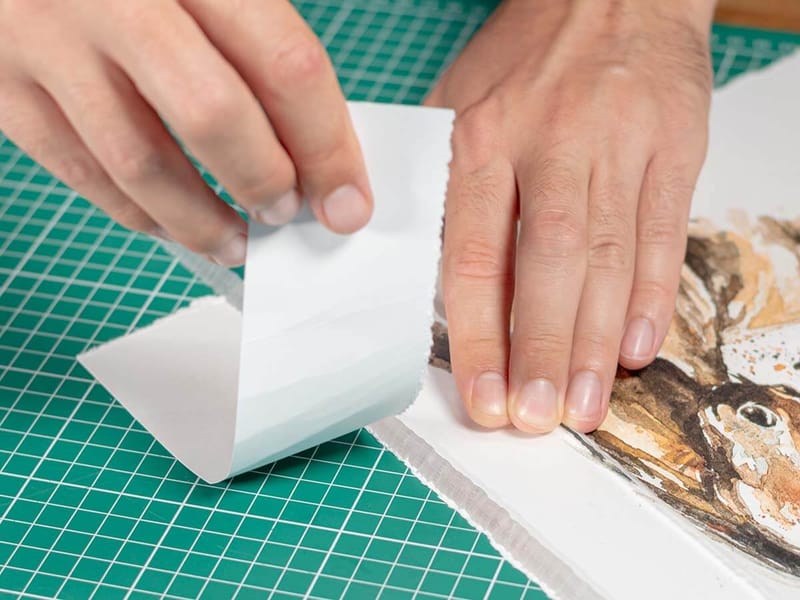
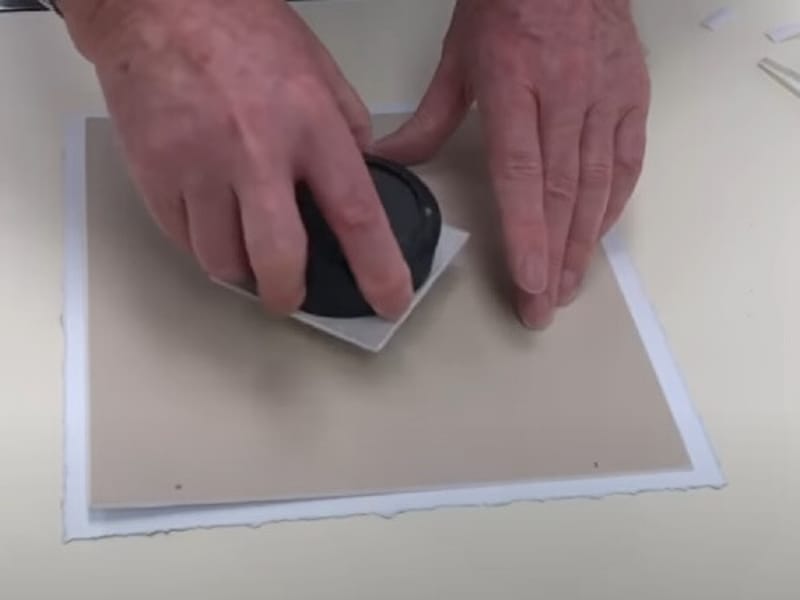
Tear off pieces of gummed tape and moisten them on a gummed tape wetter. Enough to secure the artwork to the board.
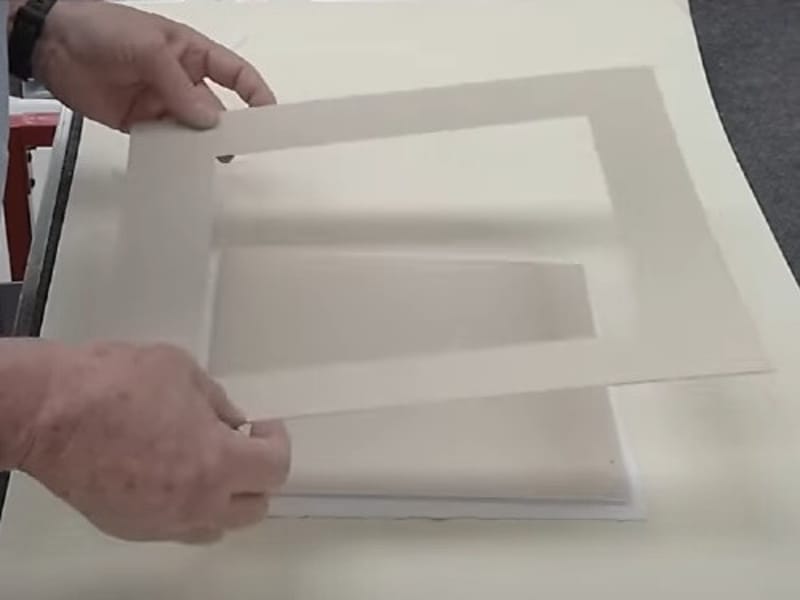
Position the mountboard over the top of the drop-out and secure in place with hinging tape.
Add the barrier board and backing board to the float mounted piece.
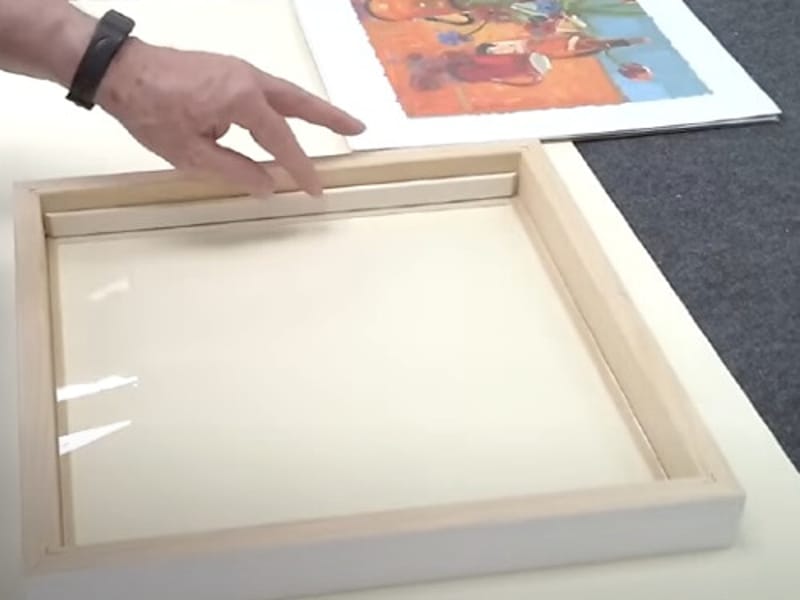
Place the glazing into the moulding frame, use glass spacers to create a gap between glass and floated art.
Place the 'frame sandwich' into the frame and seal the back as usual.
Method two - raised:
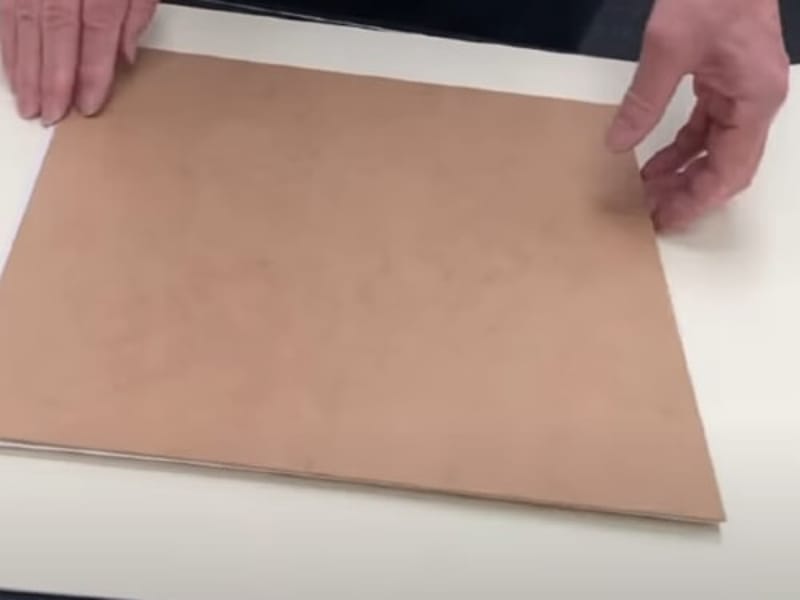
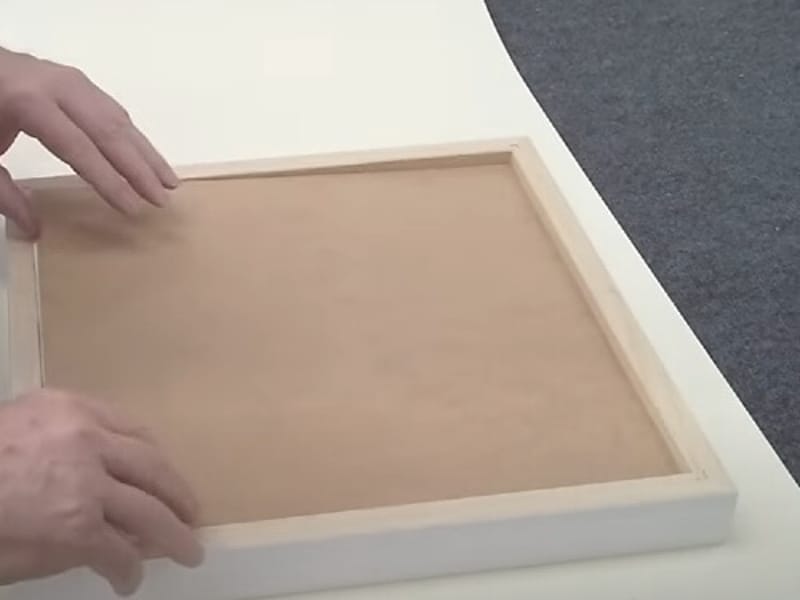
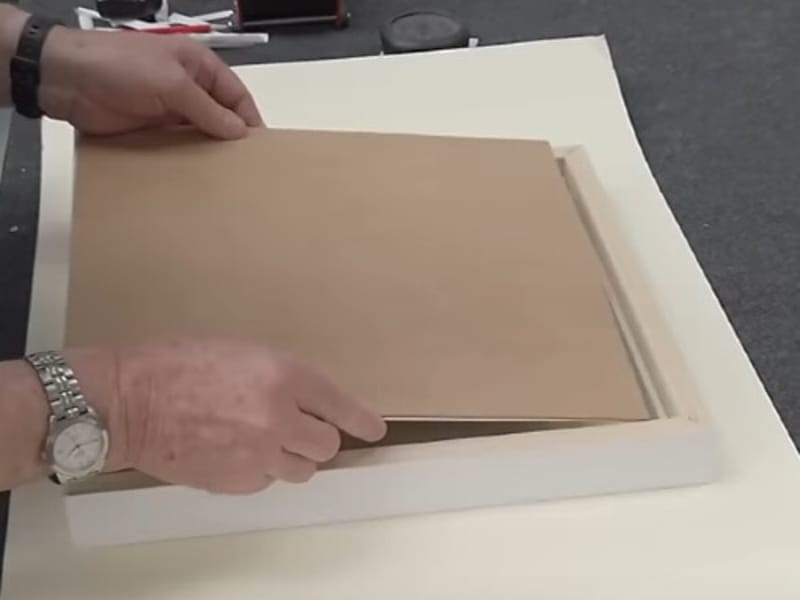
Cut a board leaving a 10mm border around the artwork. Mount to the back of the art.
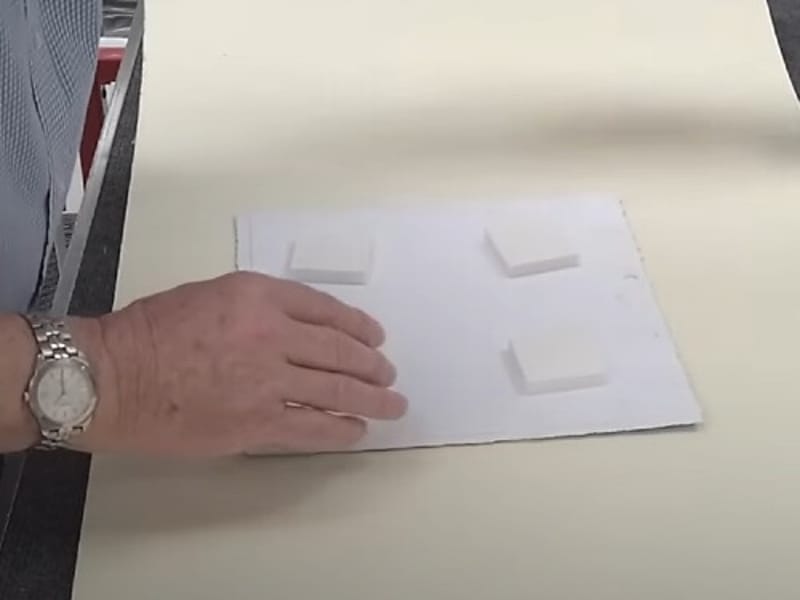
Cut four pieces of thick foamboard and secure them evenly around the mounting board.
Cut a mountboard like usual but do not cut an aperture.
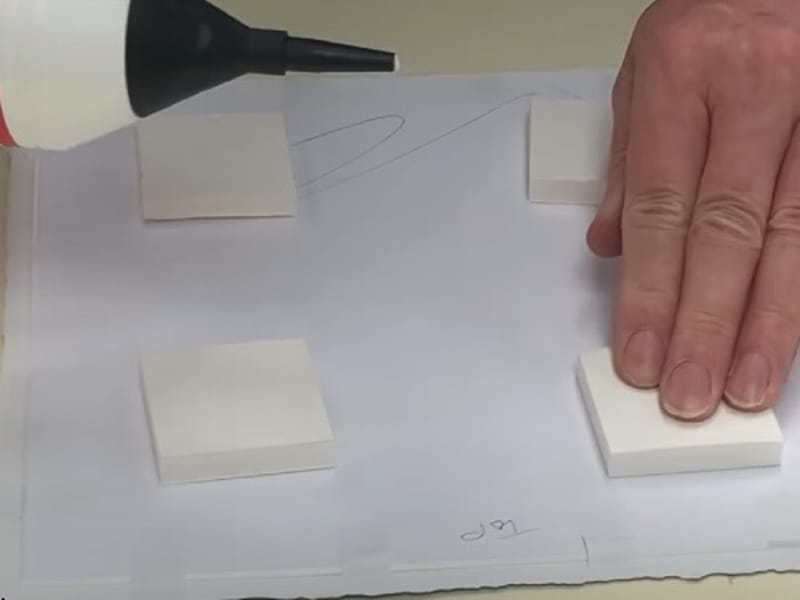
Apply a small amount of PVA glue to each piece of foamboard. Fix in place centrally onto the mountboard.
Leave to cure then add a backing board and position into a frame with glass spacers added.