DELIVERY just £12.50
Stretching a canvas is pretty straightforward when you know how - watch our video to learn more.
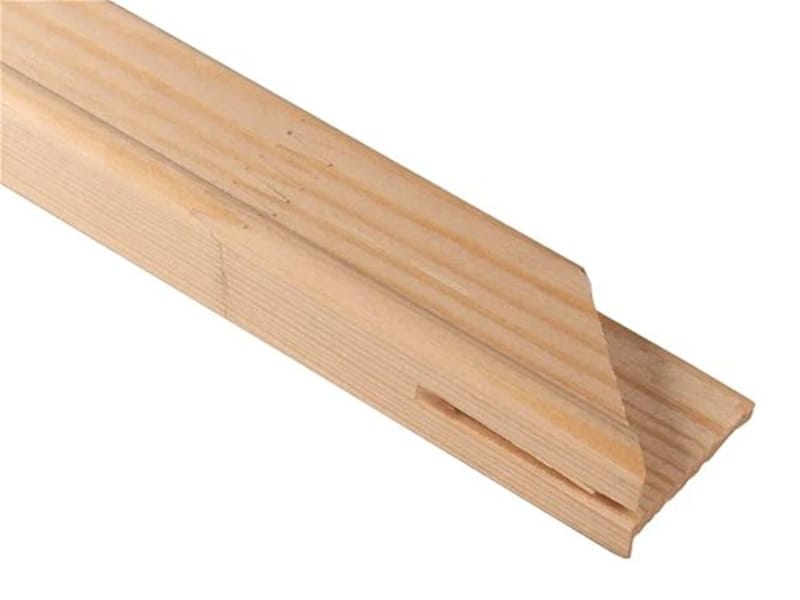
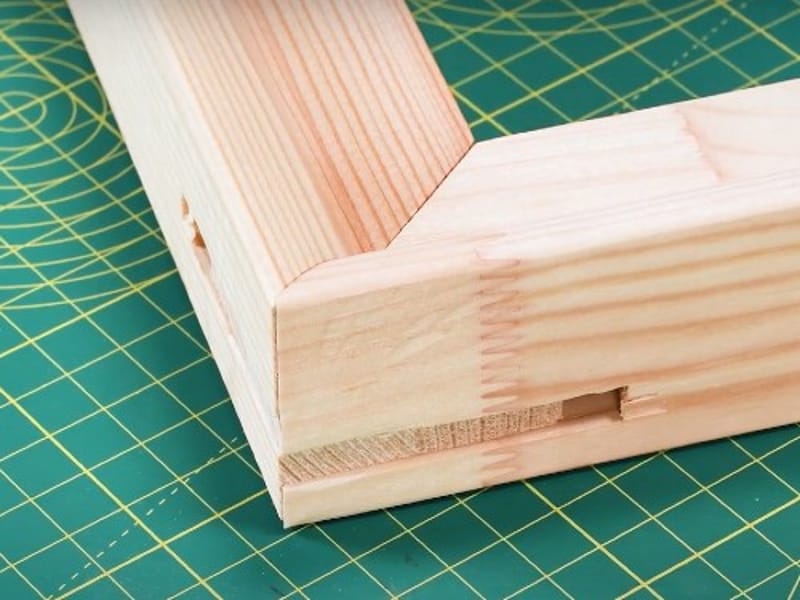
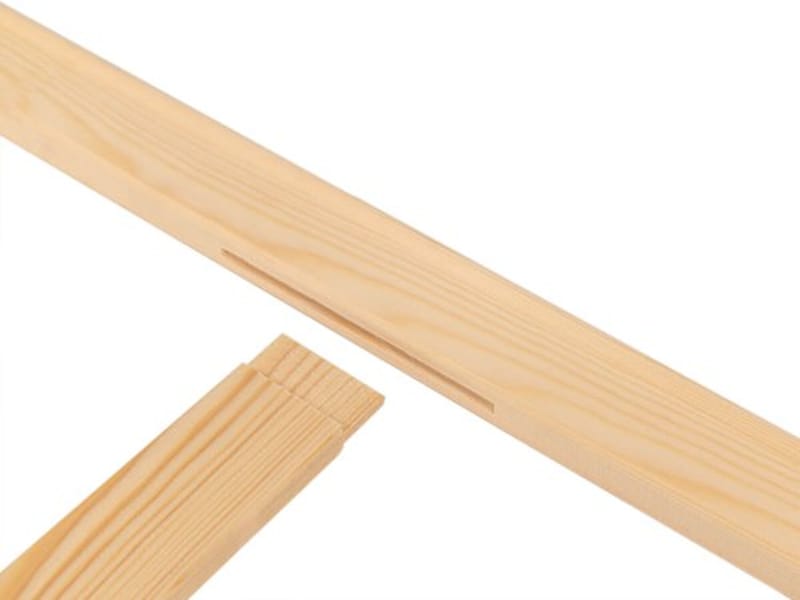
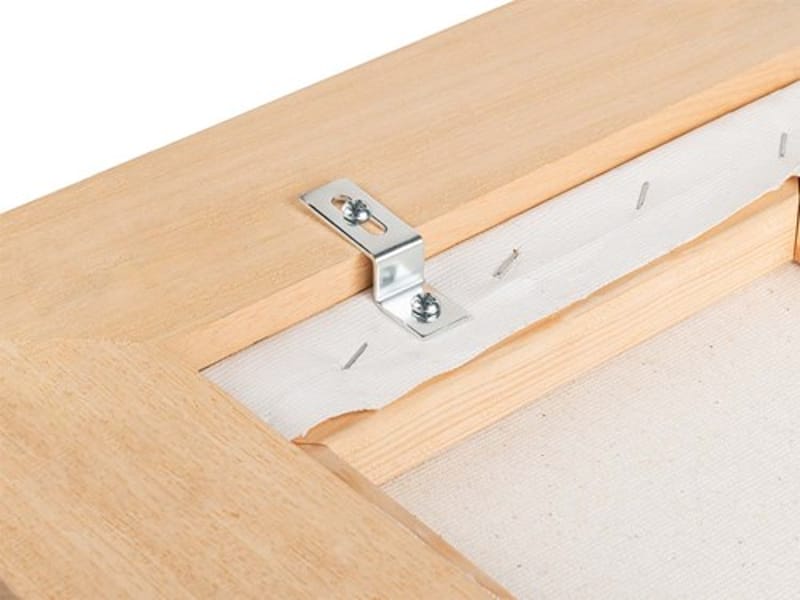
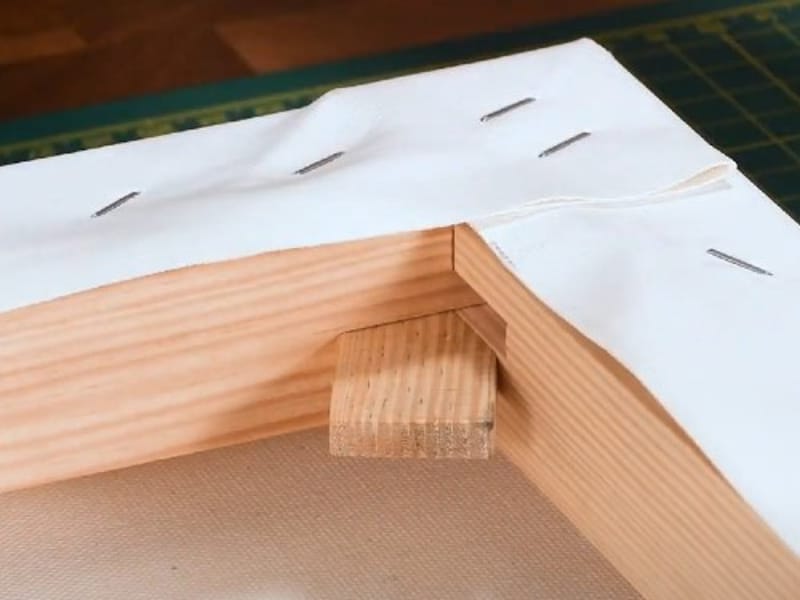
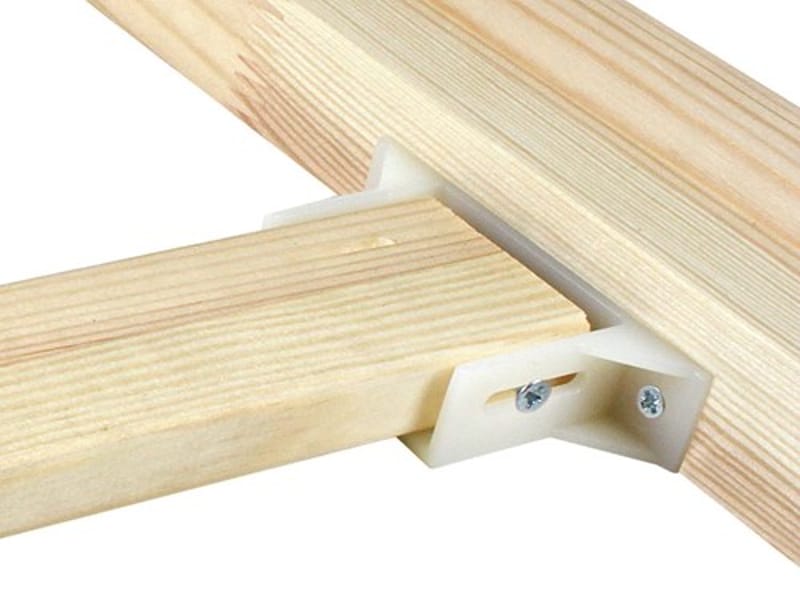
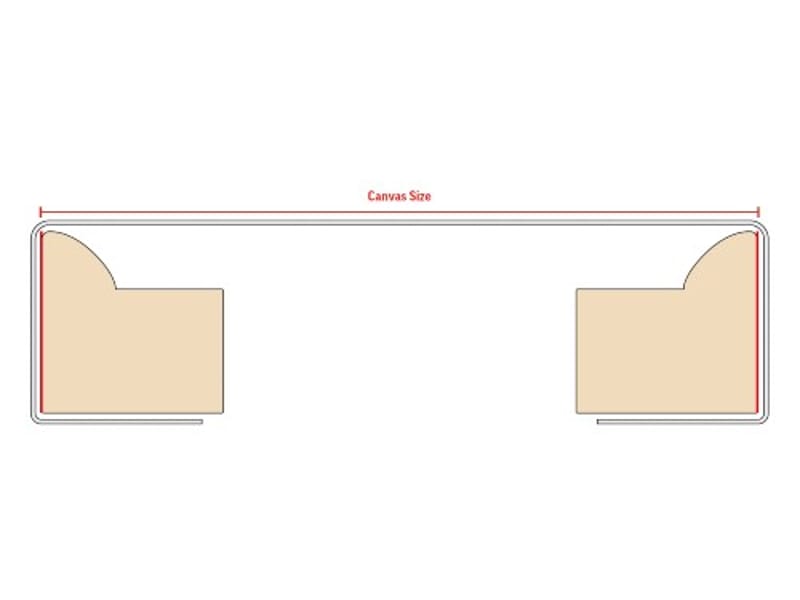
Stretcher Bars are supplied in pairs. They slot together to form a frame - bars over 762mm/30” are slotted to allow you to add a brace bar, and brace bars over 762mm/30” are notched to cross, so you can brace both dimensions.
Stretcher Bars are supplied with wedges to tap into the corners - if the canvas starts to sag over time, tapping them in a little further will make it taught again.
You can buy stretcher bars in 3m lengths or order them cut to size on Chop Service, to join yourself.
Tip: Printed canvases can be finished with a varnish or texturing gel.
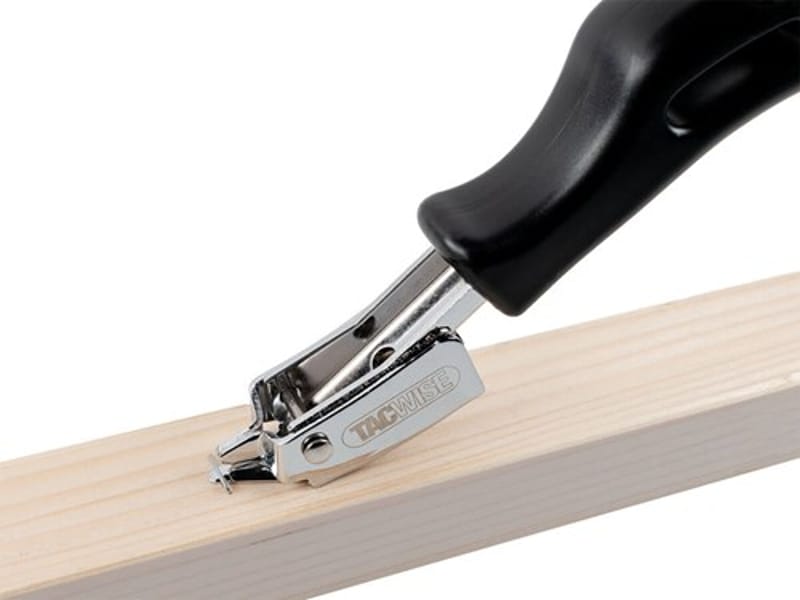
Tip: We all make mistakes - a Staple Remover is a very handy tool when stretching canvases.
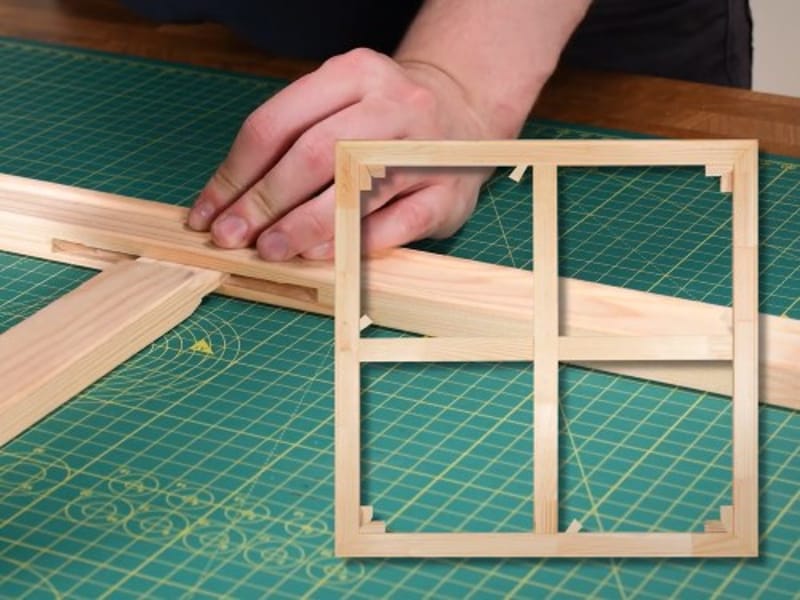
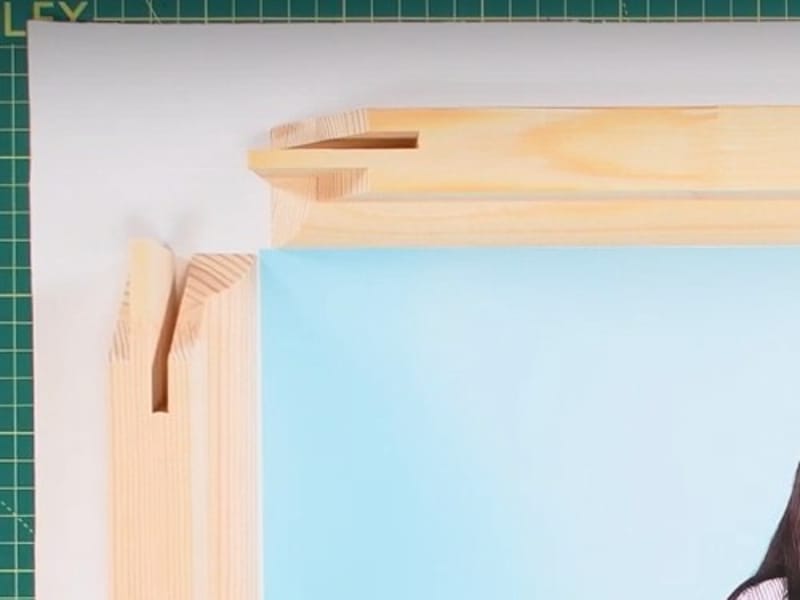
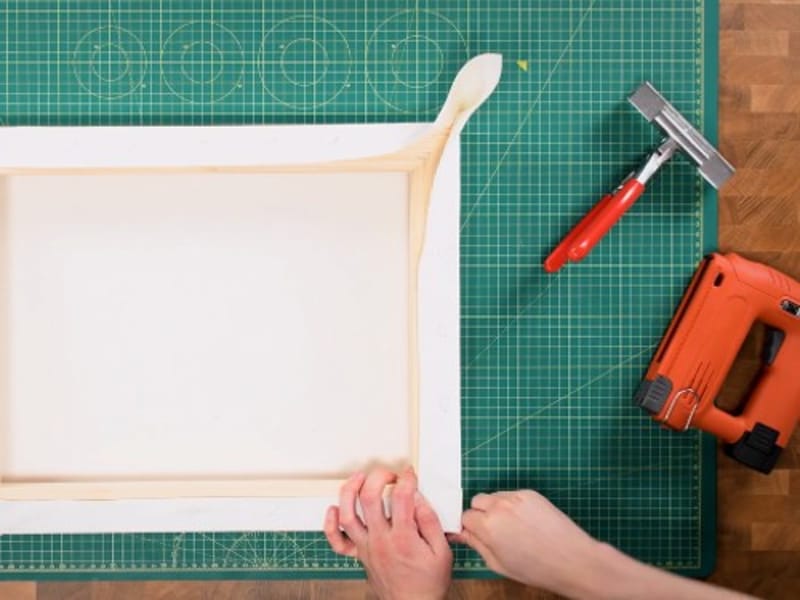
Method 1) Precut slotted stretcher bars
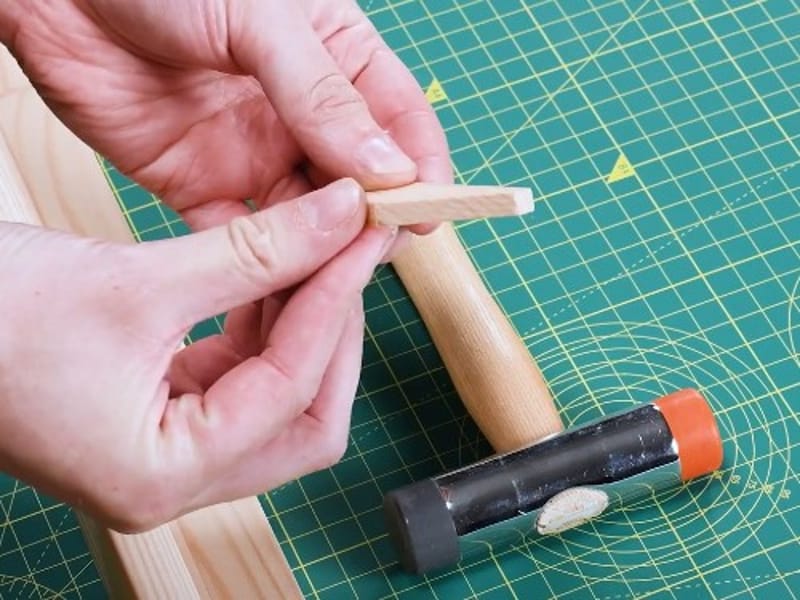
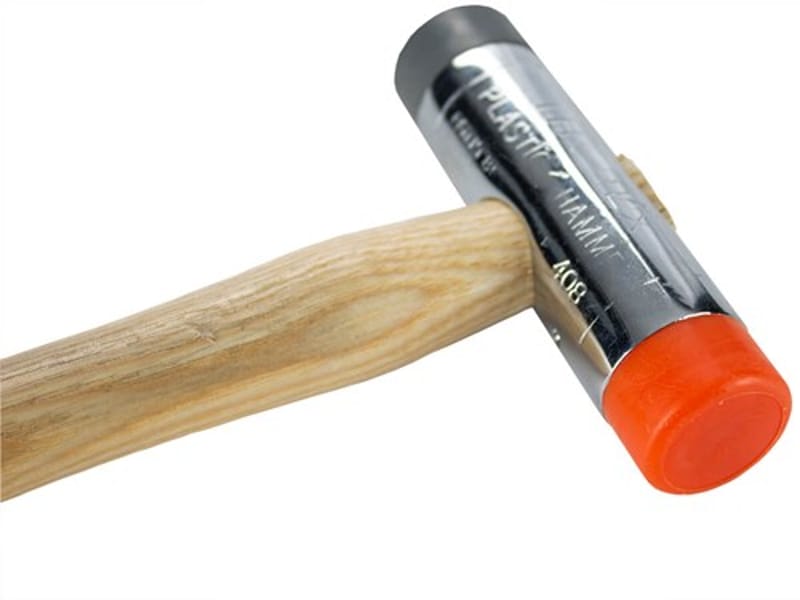
Precut slotted stretcher bars are assembled using just a hammer. You can retention the canvas if it sags over time with wedges.
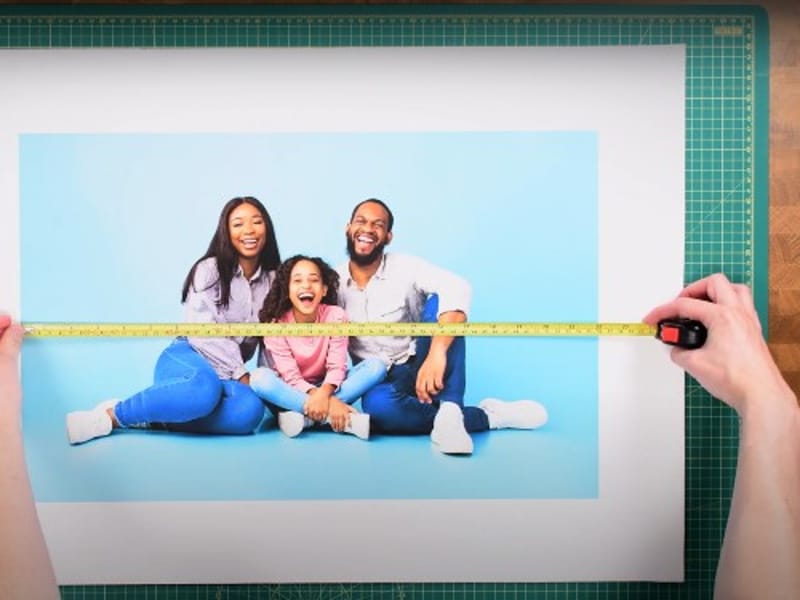
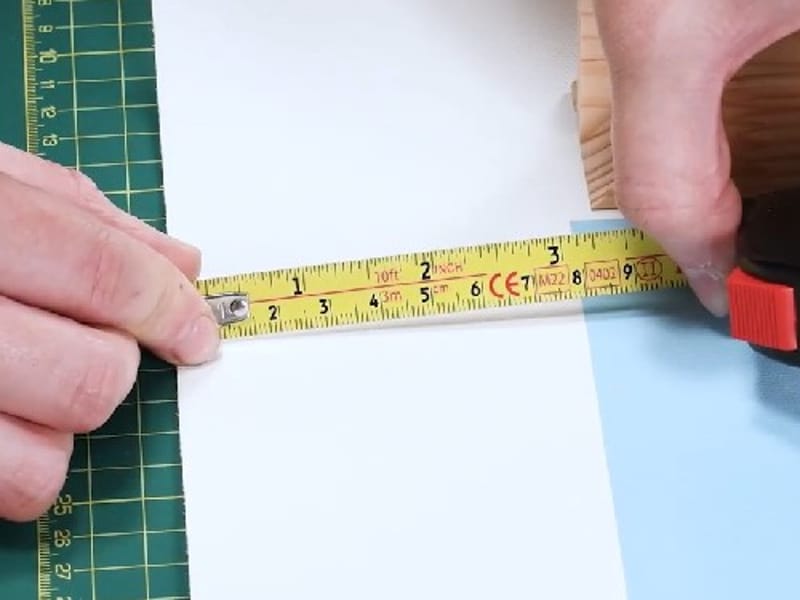
Measure the face of the canvas to workout what size bars to use. For example, an image that’s 561x358mm would use bars that are 559x356mm.
You’ll need enough excess to allow for stretcher pliers to grip the canvas and pull it round to the back.
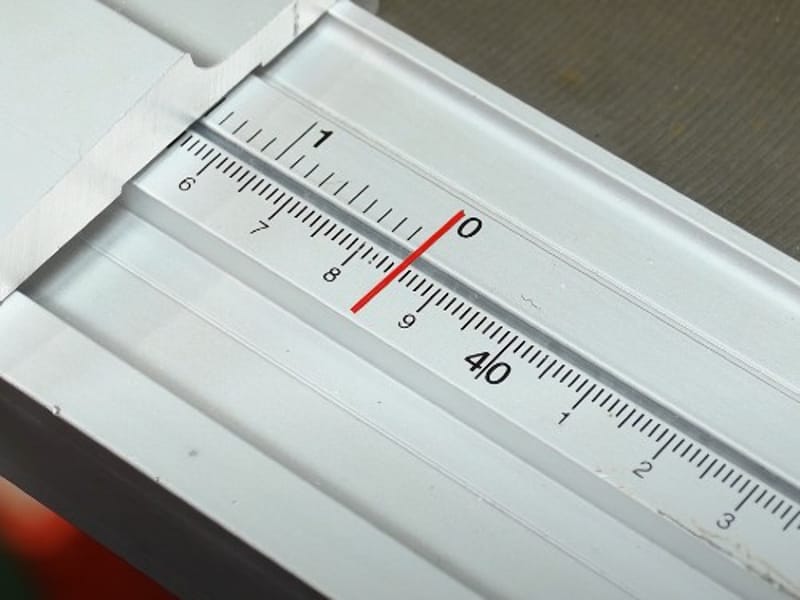
Our image has an 80mm border allowing us to use bars in the 44mm deep profile.
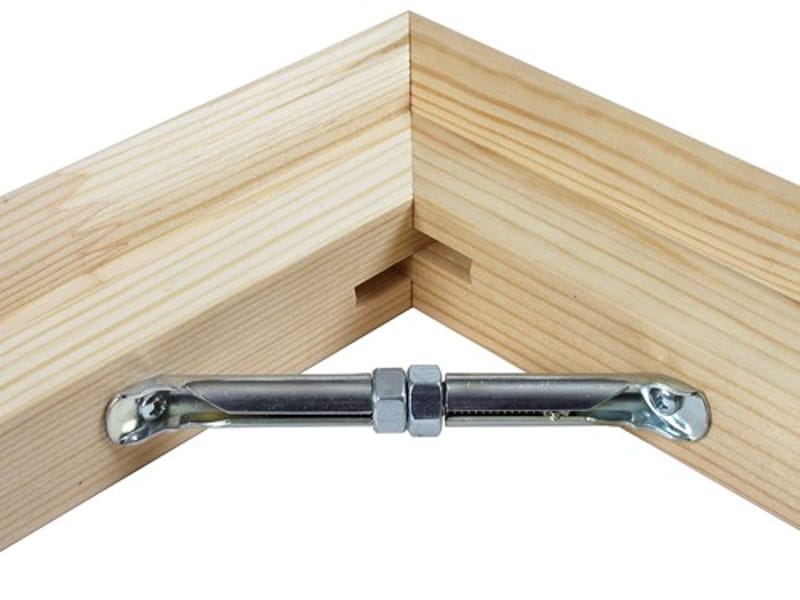
Method 2) Stretcher profile in lengths
These are cut and joined on normal framing equipment. This allows you to make a frame to fit a canvas of any size and is quicker and more economical than using slotted bars.
Precut slotted stretcher bars are assembled using just a hammer. You can retention the canvas if it sags over time with wedges.
Measure the face of the canvas to workout what size bars to use. For example, an image that’s 561x358mm would use bars that are 559x356mm.
You’ll need enough excess to allow for stretcher pliers to grip the canvas and pull it round to the back.
Our image has an 80mm border allowing us to use bars in the 44mm deep profile.