DELIVERY just £12.50
Dry mounting low value or replaceable art and posters onto self-adhesive board is a quick, easy and cost effective way of getting it flat and ready for framing. Watch our video to learn how to avoid air pockets and ripples. Get in touch for advice on choosing the right mounting and laminating films.
Tip: For higher volume mounting and laminating, use heat-activated adhesive films and boards with a heated press.
How to quickly and easily dry mount a poster or print using self-adhesive board.
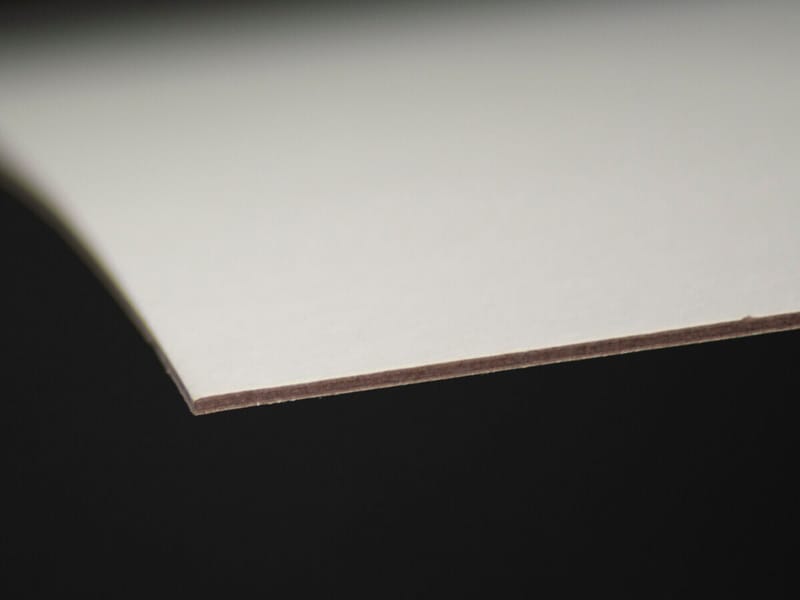
Cut a piece of self-adhesive board that is around 100mm larger than the print. If you're adding a window mount increase the border so that it's wide enough to stick the mount onto.
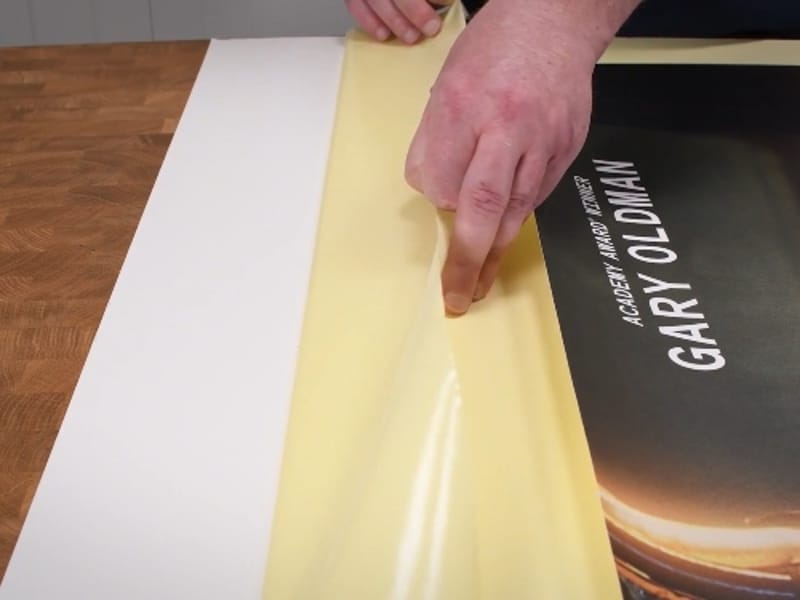
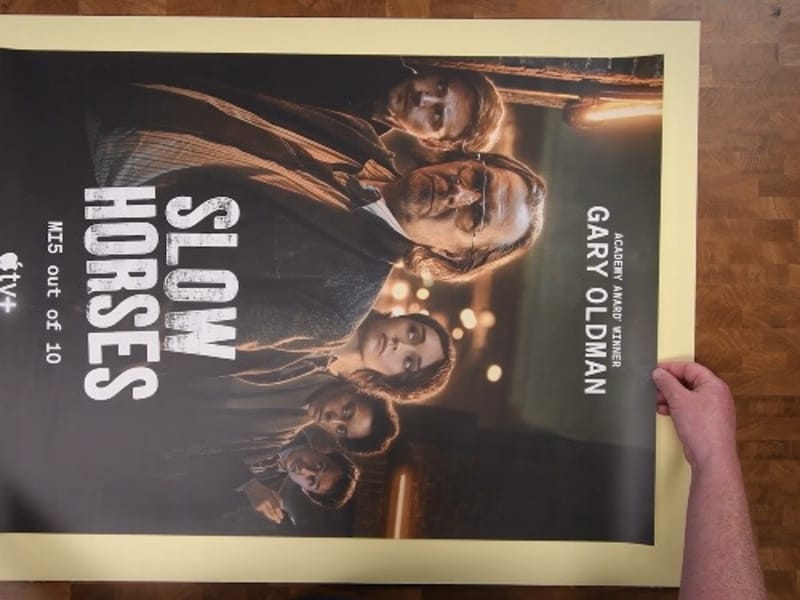
Peel back the first 50mm of release paper. Centre the print over the board on top of the release paper.
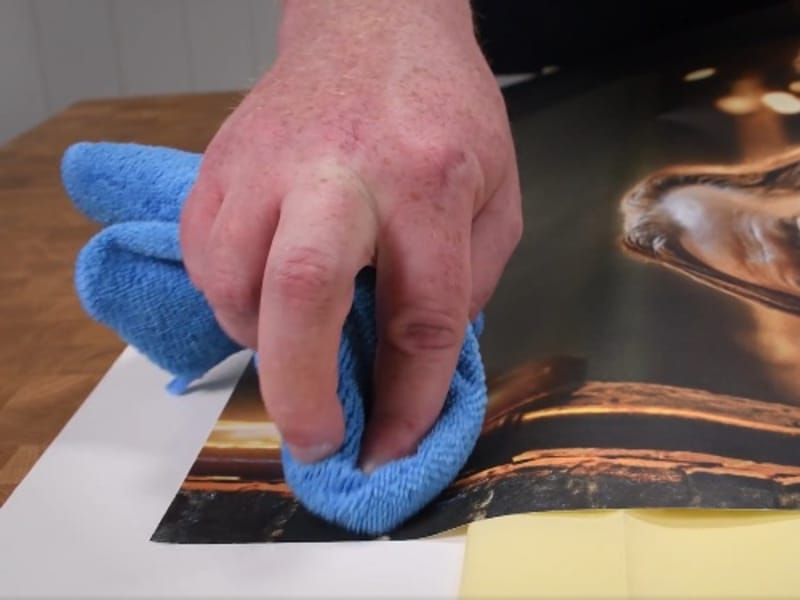
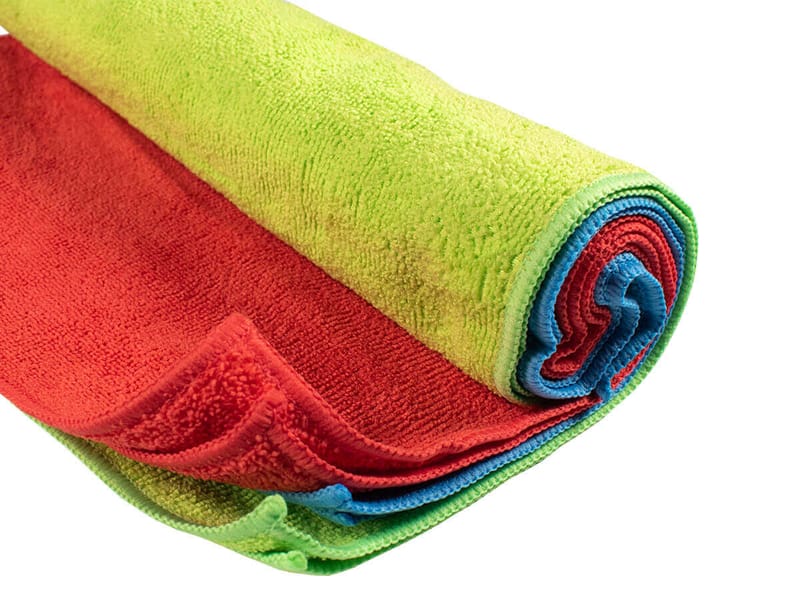
Press the leading edge onto the adhesive, smoothing over with a clean microfibre cloth. Work your way down the print in stages, gently smoothing down with the cloth as you go.
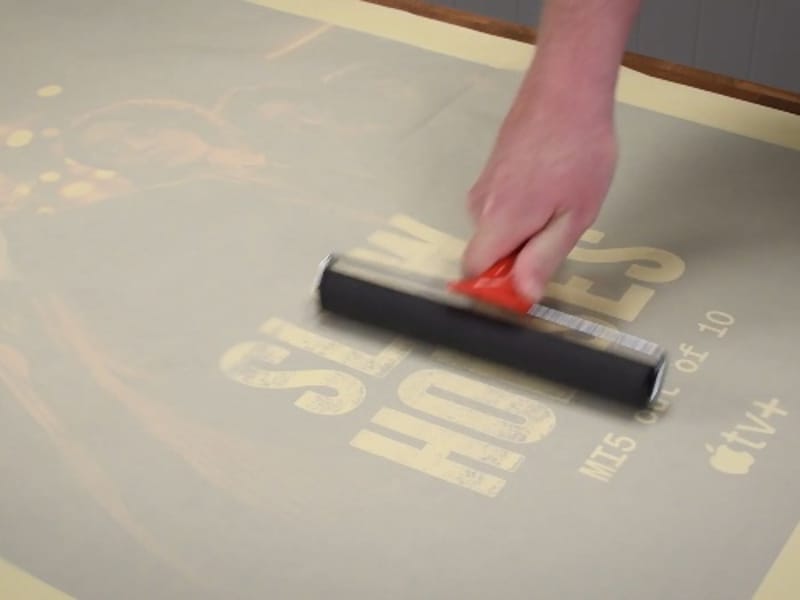
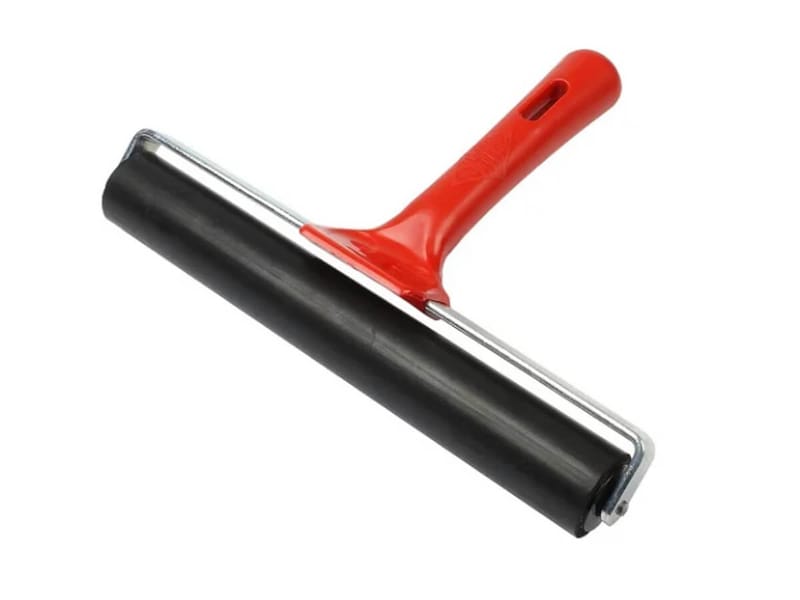
Don't remove the final section of the release paper. Instead lay it back down over the print and run a brayer roller to get a really good bond. You could also run it through a roller laminator.
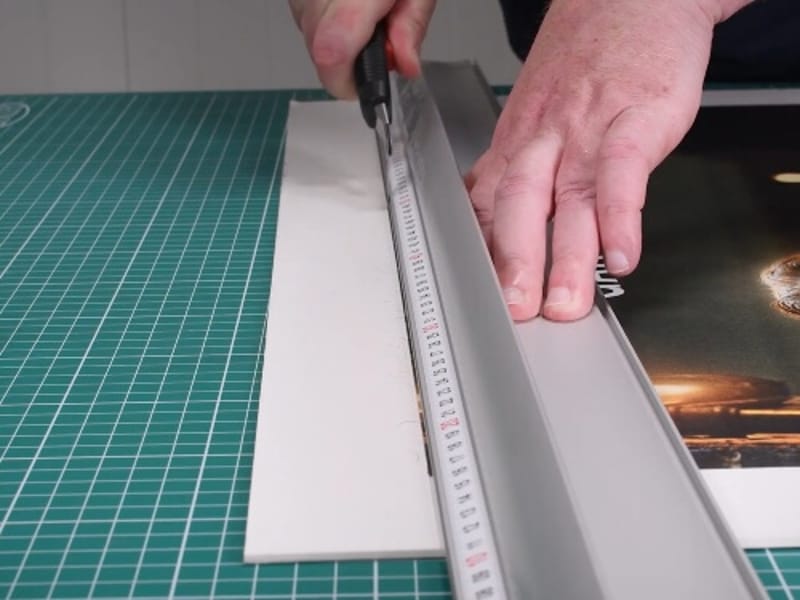
The mounted print should be left to cure for 24 hours. Once cured trim the edges, it is now ready to frame.